Exploring a model in the GUI
The myokit GUI acts as a tiny IDE for .mmt files. When a file is loaded it
is split into its three parts, each of which you can edit on a different pane.
Simulations can be run from the GUI and some common tasks can be accessed from
the menu.

The GUI showing the model editor pane
The GUI also provides some debugging features. Hitting Ctrl-D (for “debug”)
when the cursor points at a variable will display the set of expressions used
to evaluate it. For example if a = 10, b = 5 * a and c = b^2 the
debug overview for c will show:
a = 10
b = 5 * a
c = b^2
Similarly, Ctrl-E will display the value of c, along with the value
of b used to calculate it.
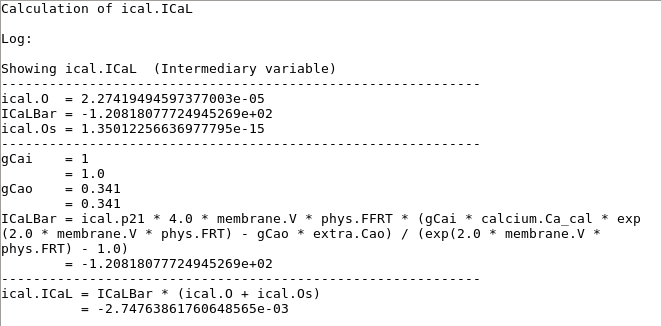
This display shows how the variable ical.ICaL is calculated. To make
the debugging process a little easier, the values of all variables it
depends on are shown.
IIf you place the cursor on a variable and hit Ctrl-G the GUI will attempt to draw a graph of the selected variable. All these features are also available from the menu.

A quick graph of a time constant.
At any time, the plot script can be run using F5. Alternatively, the “explorer” can be run by pressing F6. This mode allows you to graph all logged variables against each other and explore the model output before making your final graphs.

The explorer view.